Electron is a JavaScript framework built on Chromium that comes in pretty handy in developing cross-platform desktop applications. My first encounter with this framework dates back to 2019 as I found myself looking for something different to develop windows desktop apps apart from C# with WinForms. It looked interesting and ended up making a widget-sized app for displaying quotes with it, alas that was the end of our affair. This year in April, I set out to immerse myself back into it and use a project as a way of learning. This article sets out to document the experience. Bear with me it might be a bit of a read but
The journey is more important than the destination - Bill King
The Idea and Design
The goal was to make an app that could be of use to improve productivity. Ever heard of Pomodoro Technique? If not read it up. It is a time management method. The app's functionality is inspired by this technique. The following were the requirements considered in the design phase.
-
Functional requirements
- Display tasks with corresponding details and time.
- Display the progress i.e. a percentage of how many tasks done.
- Input and save task details.
- Input and save app settings.
- Define a constant time length for executing a task and its subsequent break time.
-
Non-functional requirements
- Availability of data required by the application
- Reliable data presentation
- Easy to use
Took these points into Adobe XD and came up with a couple of designs.

That's it. Nothing fancy at all but I find listing these details and having a design pinned down does allow you to focus.
The Execution and Outcome
Learning never stops but it is always good to have some order to deal with all the chaos. One day I will go into detail as to how I approach technologies that are foreign to me. However, just to highlight, the areas I focus primarily are syntax and the ways data could be passed between various components. The rest can always be worked on later. Results motivate me so the goal is to get that first project done first and then build on that experience.
Getting back, a month of juggling between work and coding, video tutorials and documentation readings, the results? See for yourself below.

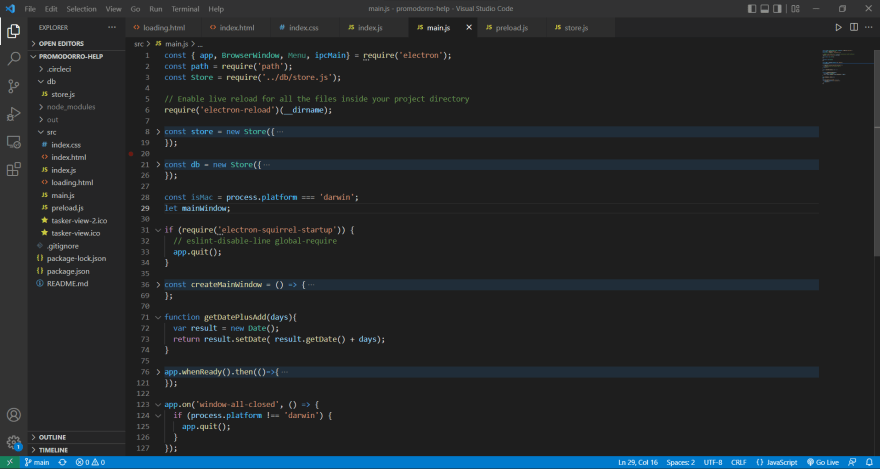
A look at the code, the folder structure has two key folders "db" and "src". An honorary mention to the ".circleci" folder, DevOps y'all, if you know you know (See, I specialize in making jokes in my spare time).
In my opinion, Electron as a framework requires understanding three things, the context bridge, the renderer, and the main processes. In condensed terms, the renderer process offers functionalities that can add dynamism to the UI. The main process has access to node modules and other components like file systems etc. However, one should view these two as separate realms that require a bridge between them. Enter the context bridge, a concept that enables mutual data sharing. Maybe a folder structure reflecting this would be suitable, something worth considering in the next project. If you are new to node project then the package.json is something you must be comfortable with. Dependencies, some app info, and deployment/packaging details are defined there.
Breaking down the code:
Main: main.js, store.js
Despite the application, you will find yourself writing a similar type of code as below.
const createMainWindow = () => {
  // Create the browser window.
  mainWindow = new BrowserWindow({
    width: 400,
    height: 600,
    show: false,
    icon: 'src/tasker-view.ico',
    resizable: false,
    autoHideMenuBar:true,
    webPreferences:{
      nodeIntegration: true,
      contextIsolation: true,
      preload: path.join(__dirname, 'preload.js'),
    }
  });
  mainWindow.loadFile(path.join(__dirname, 'index.html'));

  var splashWindow = new BrowserWindow({
    width: 400,
    height: 600,
    frame: false,
    alwaysOnTop: true
  });

  splashWindow.loadFile(path.join(__dirname, 'loading.html'))
  splashWindow.center();
  setTimeout(function(){
    splashWindow.close();
    mainWindow.center();
    mainWindow.show();
  }, 5000);
  // Open the DevTools.
  //mainWindow.webContents.openDevTools();
};
The BrowserWindow as the name suggests allows for the definition of the state of the container that holds your application, The dimensions, the visibility, the menus (standard menu bar or context menu) and so much more.
This application is designed to keep both user preferences and a list of tasks in a flat-file format, .json in this case. In store.js, methods are defined that handle the creation, writing, and reading of the JSON files.
const electron = require('electron');
const path = require('path');
const fs = require('fs');

class Store{

    constructor(opts){
        const userDataPath = (electron.app || electron.remote.app).getPath('userData');

        this.path = path.join(userDataPath, opts.configName + '.json');
        this.data = parseDataFile(this.path, opts.defaults);

    }

    get(key){
        return this.data[key];
    }

    set(key, val){
        this.data[key] = val;
        fs.writeFileSync(this.path, JSON.stringify(this.data));
    }
}

function parseDataFile(filePath, defaults) {
    try{
        return JSON.parse(fs.readFileSync(filePath));
    }catch(error){
        return defaults;
    }
}

module.exports = Store;
Go through the code and try to see what is going on. Done? Not so complicated right? Here we have setters and getters to keep and retrieve data and have defined that we access the defined default values from the main.js if no data has yet been stored.
Below is the implementation in the main.js of this.
const store = new Store({
  configName: 'user-preferences',
  defaults:{
    userValues:{
      name: 'Tasker User',
      resetTime: getDatePlusAdd(1),
      startTime: Date.now(),
      sessionDuration: 25,
      pauseDuration: 5,
    },
  }
});
Context Bridge: preload.js.
Not many lines of code here but what this piece of code is doing is significant. Here we make use of the Inter-Process Communication, IPC which gives us ipcMain and ipcRenderer modules. Self-explanatory as to which process they belong to. Depending on the desired use case the implementation can be asynchronous or synchronous. The blocks of code below show the implementation of an asynchronous exchange that involves reading userValues data from the storage and passing it to the renderer side (UI).
In preload.js:
const WINDOWS_API = {....,
    GetUserValues: () => ipcRenderer.invoke('get/userValues'),
};

contextBridge.exposeInMainWorld('windowsAPI', WINDOWS_API);
In the main:
let currentUserValues = store.get('userValues');
.....
.....
  ipcMain.handle('get/userValues', async ()=>{
    let userValues = currentUserValues;
    return userValues;
  });
In the renderer, index.js:
async function initializeView(){
  const userAsync = window.windowsAPI.GetUserValues();
...
...
}
Renderer: index.js, index.html, index.css, loading.html
Not much to talk about here just some good old Vanilla JS, HTML, and CSS helping to make the design tick but much to be honest is done between the main.js and preload.js.
And breathe!! Not a masterpiece but this is something that is good enough as a prototype and can pass the Proof Of Concept (POC) stage. Next up, optimizing and tweaking a few things as I continue learning about what this framework has to offer.
Find the complete source code here.
I hope you enjoyed reading it as much as I enjoyed writing this. Until the next piece. Get some comments below!!!
Some useful resources used were:

Top comments (0)