
What you’ll learn
Meet Link, the new payment method type for one-click checkout. Link is now available to beta test, and in this livestream, Diana and I cover the basics for integrating Link into an existing app that uses the PaymentElement. The demo uses an express.js backend and React frontend, but you can also use Link directly with HTML and vanilla JavaScript — see this other video for a quick primer.
Today, Link is only available for US based Stripe accounts, but works with customers globally. Stay tuned for more geographies later this year.
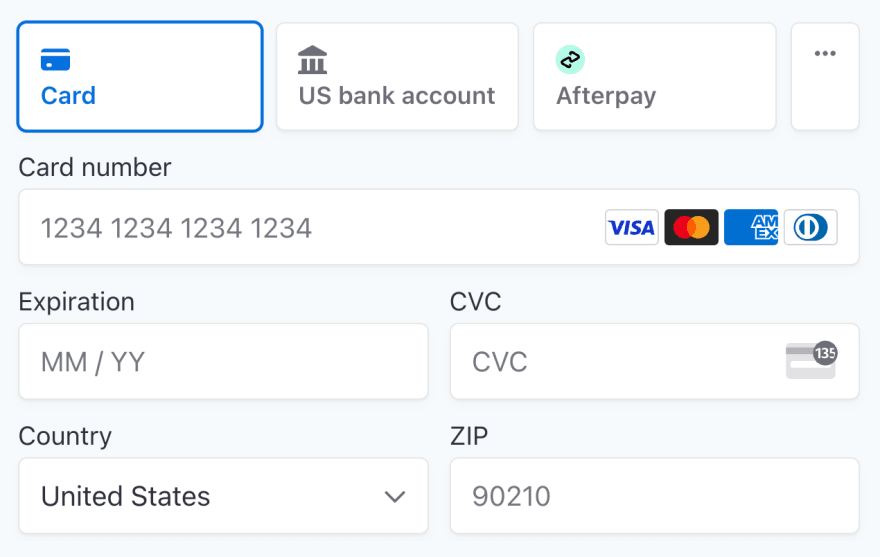
Read the docs or watch some of our past videos to learn more about integrating the PaymentElement — the recommended way to build custom payment forms. The PaymentElement is a highly customizable, embeddable UI component with support for many payment method types, not just Cards.
Who this video is for
With Link, we’re seeing exciting results: 4x faster checkout and customers that use Link purchase 4x more frequently than non-link buyers. If you’re a developer who maintains a Stripe Elements integration for a custom payment form, this one’s for you. If you’re using Stripe Checkout or no-code Payment Links, Link is already baked in and you can see some of the other videos on the Stripe Developers channel for how to integrate.
How to follow along
If you want to work alongside the video, you’ll need a Stripe account and a Node environment to work in. The fastest way to get started is to clone the repo with the code from the video, then check out the start tag.
    git clone https://github.com/cjavilla-stripe/link-in-payment-element
    cd link-in-payment-element
    git checkout start
You’ll need to set your publishable and secret API keys in a .env file in the server directory. (You can ignore the other settings as we didn’t use those in the demo).
cp .env.example server/.env
Open .env and set your API keys from the developer settings in your Stripe dashboard.
In one terminal session, you’ll want to start the server with:
    cd server
    npm run start
That starts the express server running on port 4242. We’ll also need to start the client, based on create-react-app. To start the client in another terminal session, run:
    cd client
    npm run start
That starts the react-scripts server listening on port 3000. Visit localhost:3000 to see the starting point.
Let’s get into it
Enabling Link - 04:58
Open the Stripe Dashboard and go to the PaymentMethod settings. Under the Wallets section, you’ll see the Link payment method. Make sure that’s turned on.

Using the beta - 07:10
The Link beta is available to all US merchants and works for customers in countries where Stripe is accepted. For this beta program, you can start making requests immediately by including some special settings in request headers.
You’ll pass a special string for the API version header. On the server side, when using stripe-node, we set the API version header when we initialize the instance of the stripe client:
    const stripe = require('stripe')(process.env.STRIPE_SECRET_KEY, {
      apiVersion: '2020-08-27;link_beta=v1',
    });
Notice we add ;link_beta=v1 after the date-based, API version.
On the front end we do something similar with Stripe.js, loaded from the @stripe/stripe-js npm module with loadStripe:
    loadStripe(publishableKey, {
      betas: ['link_beta_3'],
      apiVersion: '2020-08-27;link_beta=v1'
    });
Note, if you want to use the customer saved data as shown at the very end of the video, use: betas: ['link_beta_3', 'elements_customers_beta_1'],
Passing these headers opts you into the Link beta program. If you have any feedback while testing Link, please let us know by emailing link-beta@stripe.com.
Authentication Element - 13:27
The first step to integrating Link is to add the LinkAuthenticationElement — available through the @stripe/react-stripe-js package. This element renders an email address input. It also hooks into the PaymentElement and a One Time Password (OTP) UI to authenticate the customer.
You can listen for changes on the element to handle the email address, or pre-fill the value using props on the LinkAuthenticationElement. Once the customer is authenticated with Link, their addresses and payment methods are loaded into the PaymentElement for much faster Checkout.
Shipping Address Element - 17:41
Avoid all of those pesky address fields with the slick new ShippingAddressElement, another element you can add to your payment flow. It collects the shipping address for new customers, or presents existing shipping addresses for Link authenticated customers. Link and the ShippingAddressElement work together.
Merchant domain cookies - 28:13
Link uses your browser’s local storage by default to persist authenticated sessions. This works great for many browsers, but some will clear local storage when the browser is closed. To persist a user’s Link session between browsers, one option is to set a cookie for your own domain. Learn more about merchant domain cookies in this part of the documentation (only view-able for beta users).
Resources
- Link overview (only view-able for beta users)
- Accept a payment with Link documentation (only view-able for beta users)
- Quick start video for using Link with vanilla JavaScript and HTML in the PaymentElement
- API keys documentation
- Repository with the demo
- link-elements-beta@stripe.com — if you are not already a part of the new Elements + Link private beta, and you have a US based Stripe account, please email our beta team and include your Stripe account ID to get access. ## What to watch next
- Quick start video for using Link with vanilla JavaScript and HTML in the PaymentElement
Stay connected
You can stay up to date with Stripe Developer updates in a few ways:
- 📣Follow @StripeDev and our team on Twitter
- 📺 Subscribe to our Youtube channel
- 💬 Join the official Discord server
- 📧 Sign up for the Dev Digest


Top comments (0)